[IT] Oracle Solaris 11 入手とその展開(VM) について
■Oracle Solaris 11 入手とその展開(VM) について / SunOS 5.11
[amazon_enhanced asin=”0071775749″ container=”” container_class=”” price=”All” background_color=”FFFFFF” link_color=”000000″ text_color=”0000FF” /] [amazon_enhanced asin=”478981842X” container=”” container_class=”” price=”All” background_color=”FFFFFF” link_color=”000000″ text_color=”0000FF” /] [amazon_enhanced asin=”B0052OND94″ container=”” container_class=”” price=”All” background_color=”FFFFFF” link_color=”000000″ text_color=”0000FF” /] [amazon_enhanced asin=”4797333359″ container=”” container_class=”” price=”All” background_color=”FFFFFF” link_color=”000000″ text_color=”0000FF” /]
全イメージ:http://www.oracle.com/technetwork/server-storage/solaris11/downloads/index.html
VM イメージ (1.8GB) 入手先:http://download.oracle.com/otn/solaris/11/OracleSolaris11_11-11_VM.zip
展開環境:intel Pentium G630T (Hosted OS / Windows 7 Ultimate x64)
===
<インストールガイド>
Installation of Oracle Solaris 11 11 11/11 Appliance in VirtualBox
-------------------------------------------------------------------------
Requirements:
X86 system with a minimum of 2GB RAM
A minimum of 4 GB free disk space is needed for initial installation. The
available space on the virtual disk can grow to a maximum of 64 GB.
Version 3.1 or 4.0 of VirtualBox (http://www.virtualbox.org/wiki/Downloads)
Note: version 3.2 may fail due to Sun bug ID 7005377:	Solaris fast reboot support.
The message that may be seen is: WARNING: vboxguest has no quiesce()
Instructions:
------------
1) unzip OracleSolaris11_11-11_VM.zip
Contents are:
README.txt : This README
OracleSolaris11_11-11.mf : sha1 checksum file
OracleSolaris11_11-11.ovf : machine configuration file
OracleSolaris11_11-11-disk1.vmdk : machine disk image
2) Start VirtualBox application.
3) From File Menu, select Import Appliance
4) Select the OracleSolaris11_11-11.ovf file from the directory in
which the OracleSolaris11_11-11_VM.zip file was uncompressed in
step 1.
5) In the Appliance Import Wizard, change Appliance Import Settings to suit
your system:
RAM: Systems with more RAM should increase this amount (up to half of
available RAM is recommended).
Virtual Disk Image:
Select a directory in which the image size can expand (up to 64GB).
6) Start system image. Proceed through configurtion screens that prompt
for hostname, timezone, default user and passwd, and root passwd.
7) Log in as user "oracle", password "oracle".
Notes:
-----
* To install additional software, start the Package Manager by clicking on
the Add More Software icon on the desktop.
* The system will come up with the default network settings, using the
Network Auto-Magic (NWAM) and DHCP.
* A message may appear which states that a newer version of Guest Additions
is available. see the following link for more information on Guest Additions:	http://www.virtualbox.org/manual/ch04.html#id490876
* ntp is enabled by default. If the appliance is not able to see the NTP
servers, the service can be disabled with:	root# svcadm disable ntp
===
<導入>
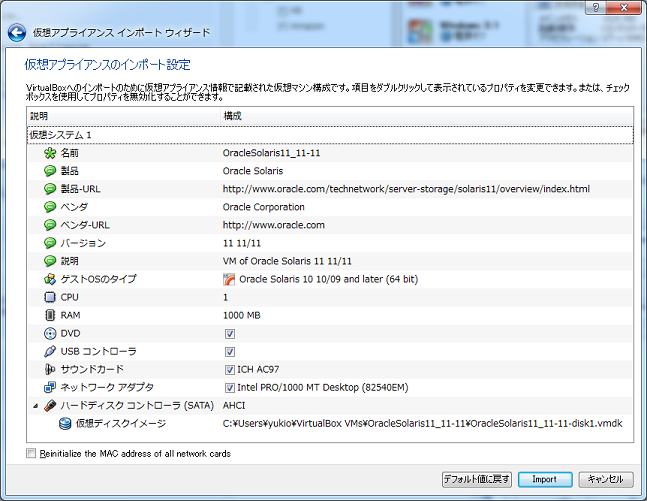
1.Oracle Solaris 11 zipを展開します。
↓
2.仮想アプライアンス インポート マネジャーを使います。
↓
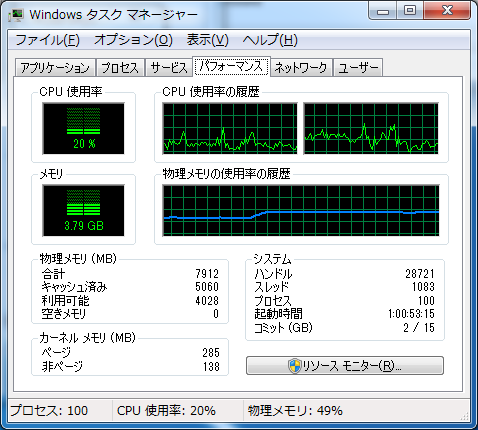
3.インポート中はそれほど環境負荷は高くありませんが、他の操作は控えたほうが無難でしょう。
↓
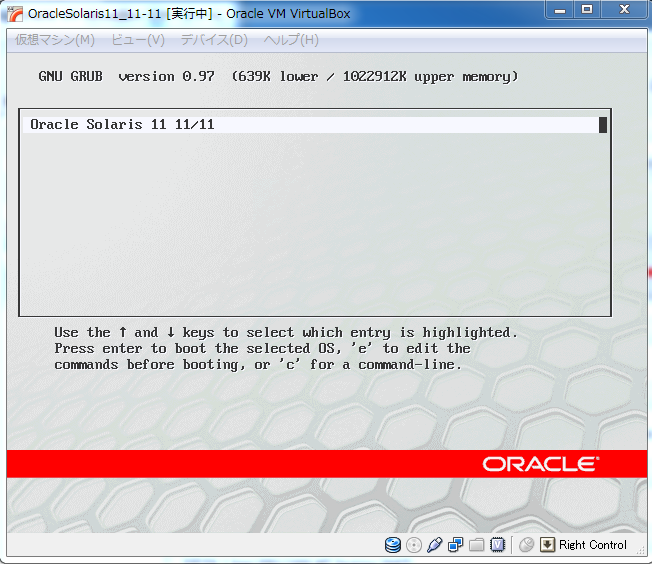
4.インポート後に起動できます。
↓
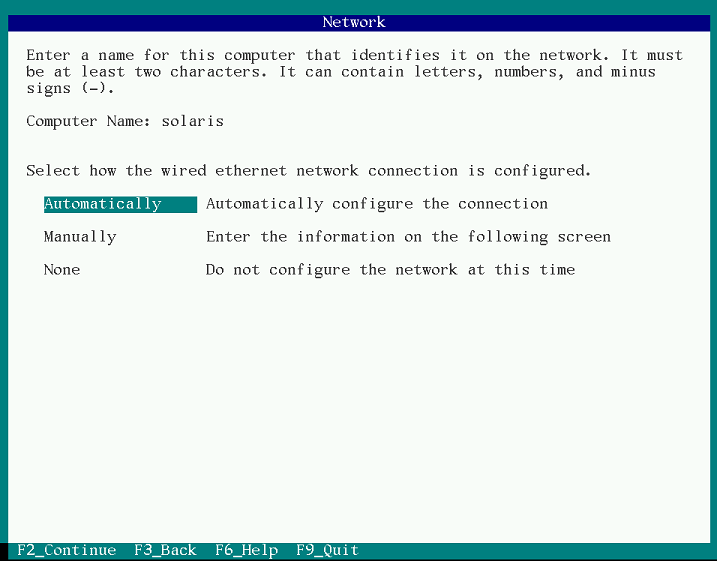
5.初回、システムコンフィギュレーションが動作するので、ホスト名(デフォルト:solaris)、ネットワーク設定は自動かマニュアル等を指定します。
以下同様にタイムゾーン、root パスワードといった一連の初期設定を行います。
なお設定内容は /var/tmp/install/systemconfig.log へ格納されます。
↓
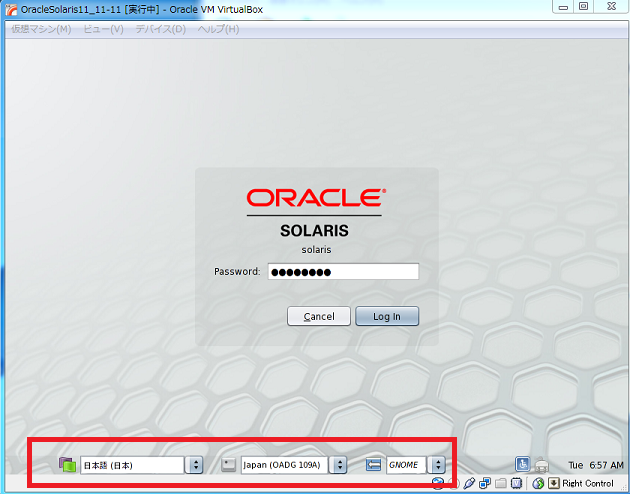
6.日本語環境やキーボード設定はユーザ環境ログオン時に指定します。
赤枠内で囲んだところが、日本語環境で使用する際の指定箇所です。
↓
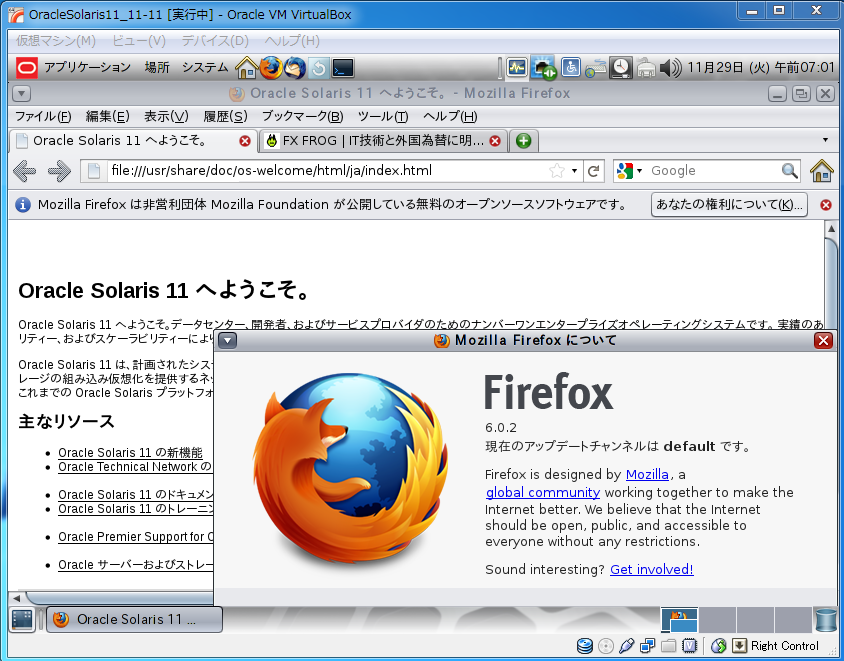
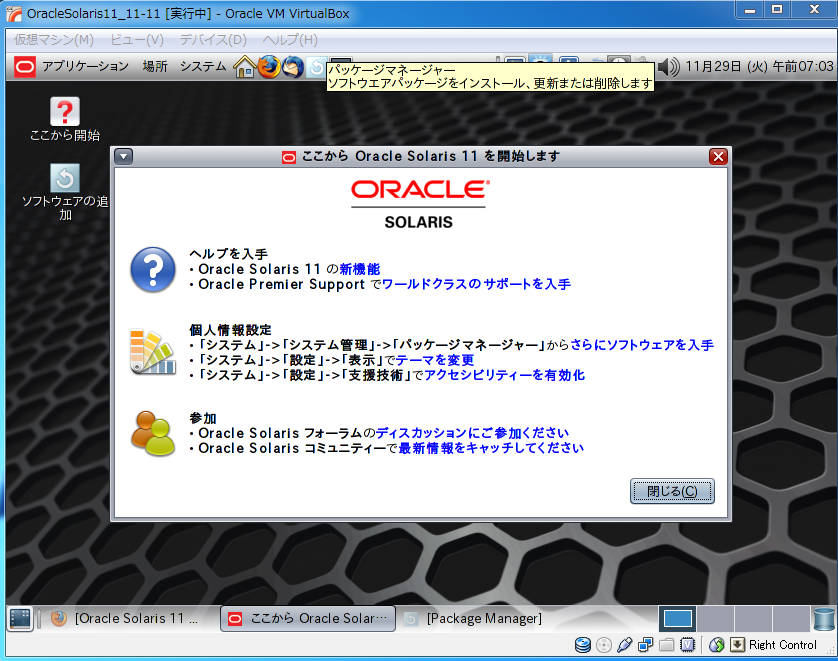
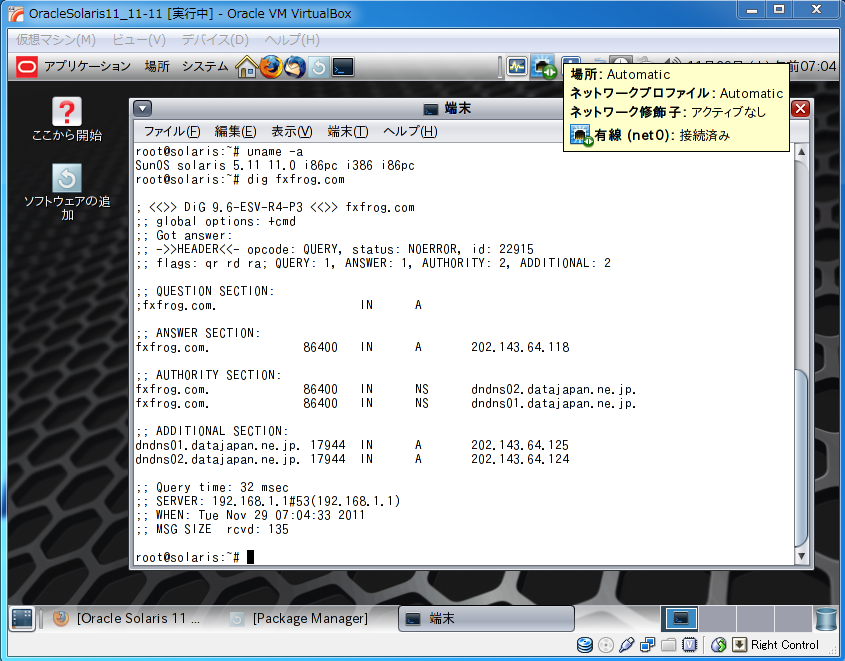
7.起動後に FireFox などで一通りの操作確認をしました。
これで端末環境は出来ましたので、あとは既存アプリの動作検証を行うなど自由に使えます。
以上

![[資格取得] IBM Cloud for Professional Architect v6 (合格体験談)](https://www.fxfrog.com/wp-content/themes/newscrunch/assets/images/no-preview.jpg)


